A cozy fireside dinner with friends

Dinner parties are my favorite way to share my love for cooking while socializing. I find that a simple, yet elegant, party can be put together with only a few hours of effort. But, I have to admit that, if time allows, I love to go all out and throw more extravagant parties. There’s a decadence to beautiful centerpieces and elaborate place settings framing the stage for several sumptuous courses (accompanied with plenty of vino, of course!). The build up to dinner parties are always exciting for me. All of my senses are heightened. The smell of cakes baking in the oven, the ringing of crystal goblets, the taste of the wine (you have to make sure it pairs well with the meal, right?), the music, the candles, the linen table cloths, the silver…it’s like being in Downton Abby (without the tuxedos and tails). Then the guests start to arrive and all the hard work and preparation give life to an evening that is filled with laughter and memories that last forever.
While throwing dinner parties is tremendous fun for me now, it wasn’t always as easy or as enjoyable. There’s a learning curve that is inversely proportional to your stress curve. It took a few (maybe several) parties to get the knack of it and to perfect the food/wine/ambiance trifecta. But, a few burnt steaks and fallen soufflés later, we started getting the hang of it and really appreciated the wonderful time spent with friends in the comfort of our home. Remember, no matter how good the food is, it is always the company and companionship that you enjoy the most, so don’t get down if everything doesn’t go perfectly with the food. There’s always next time! I’ve stuck with it, and now, after more than a dozen years of entertaining, it seems easier and more fun than ever.
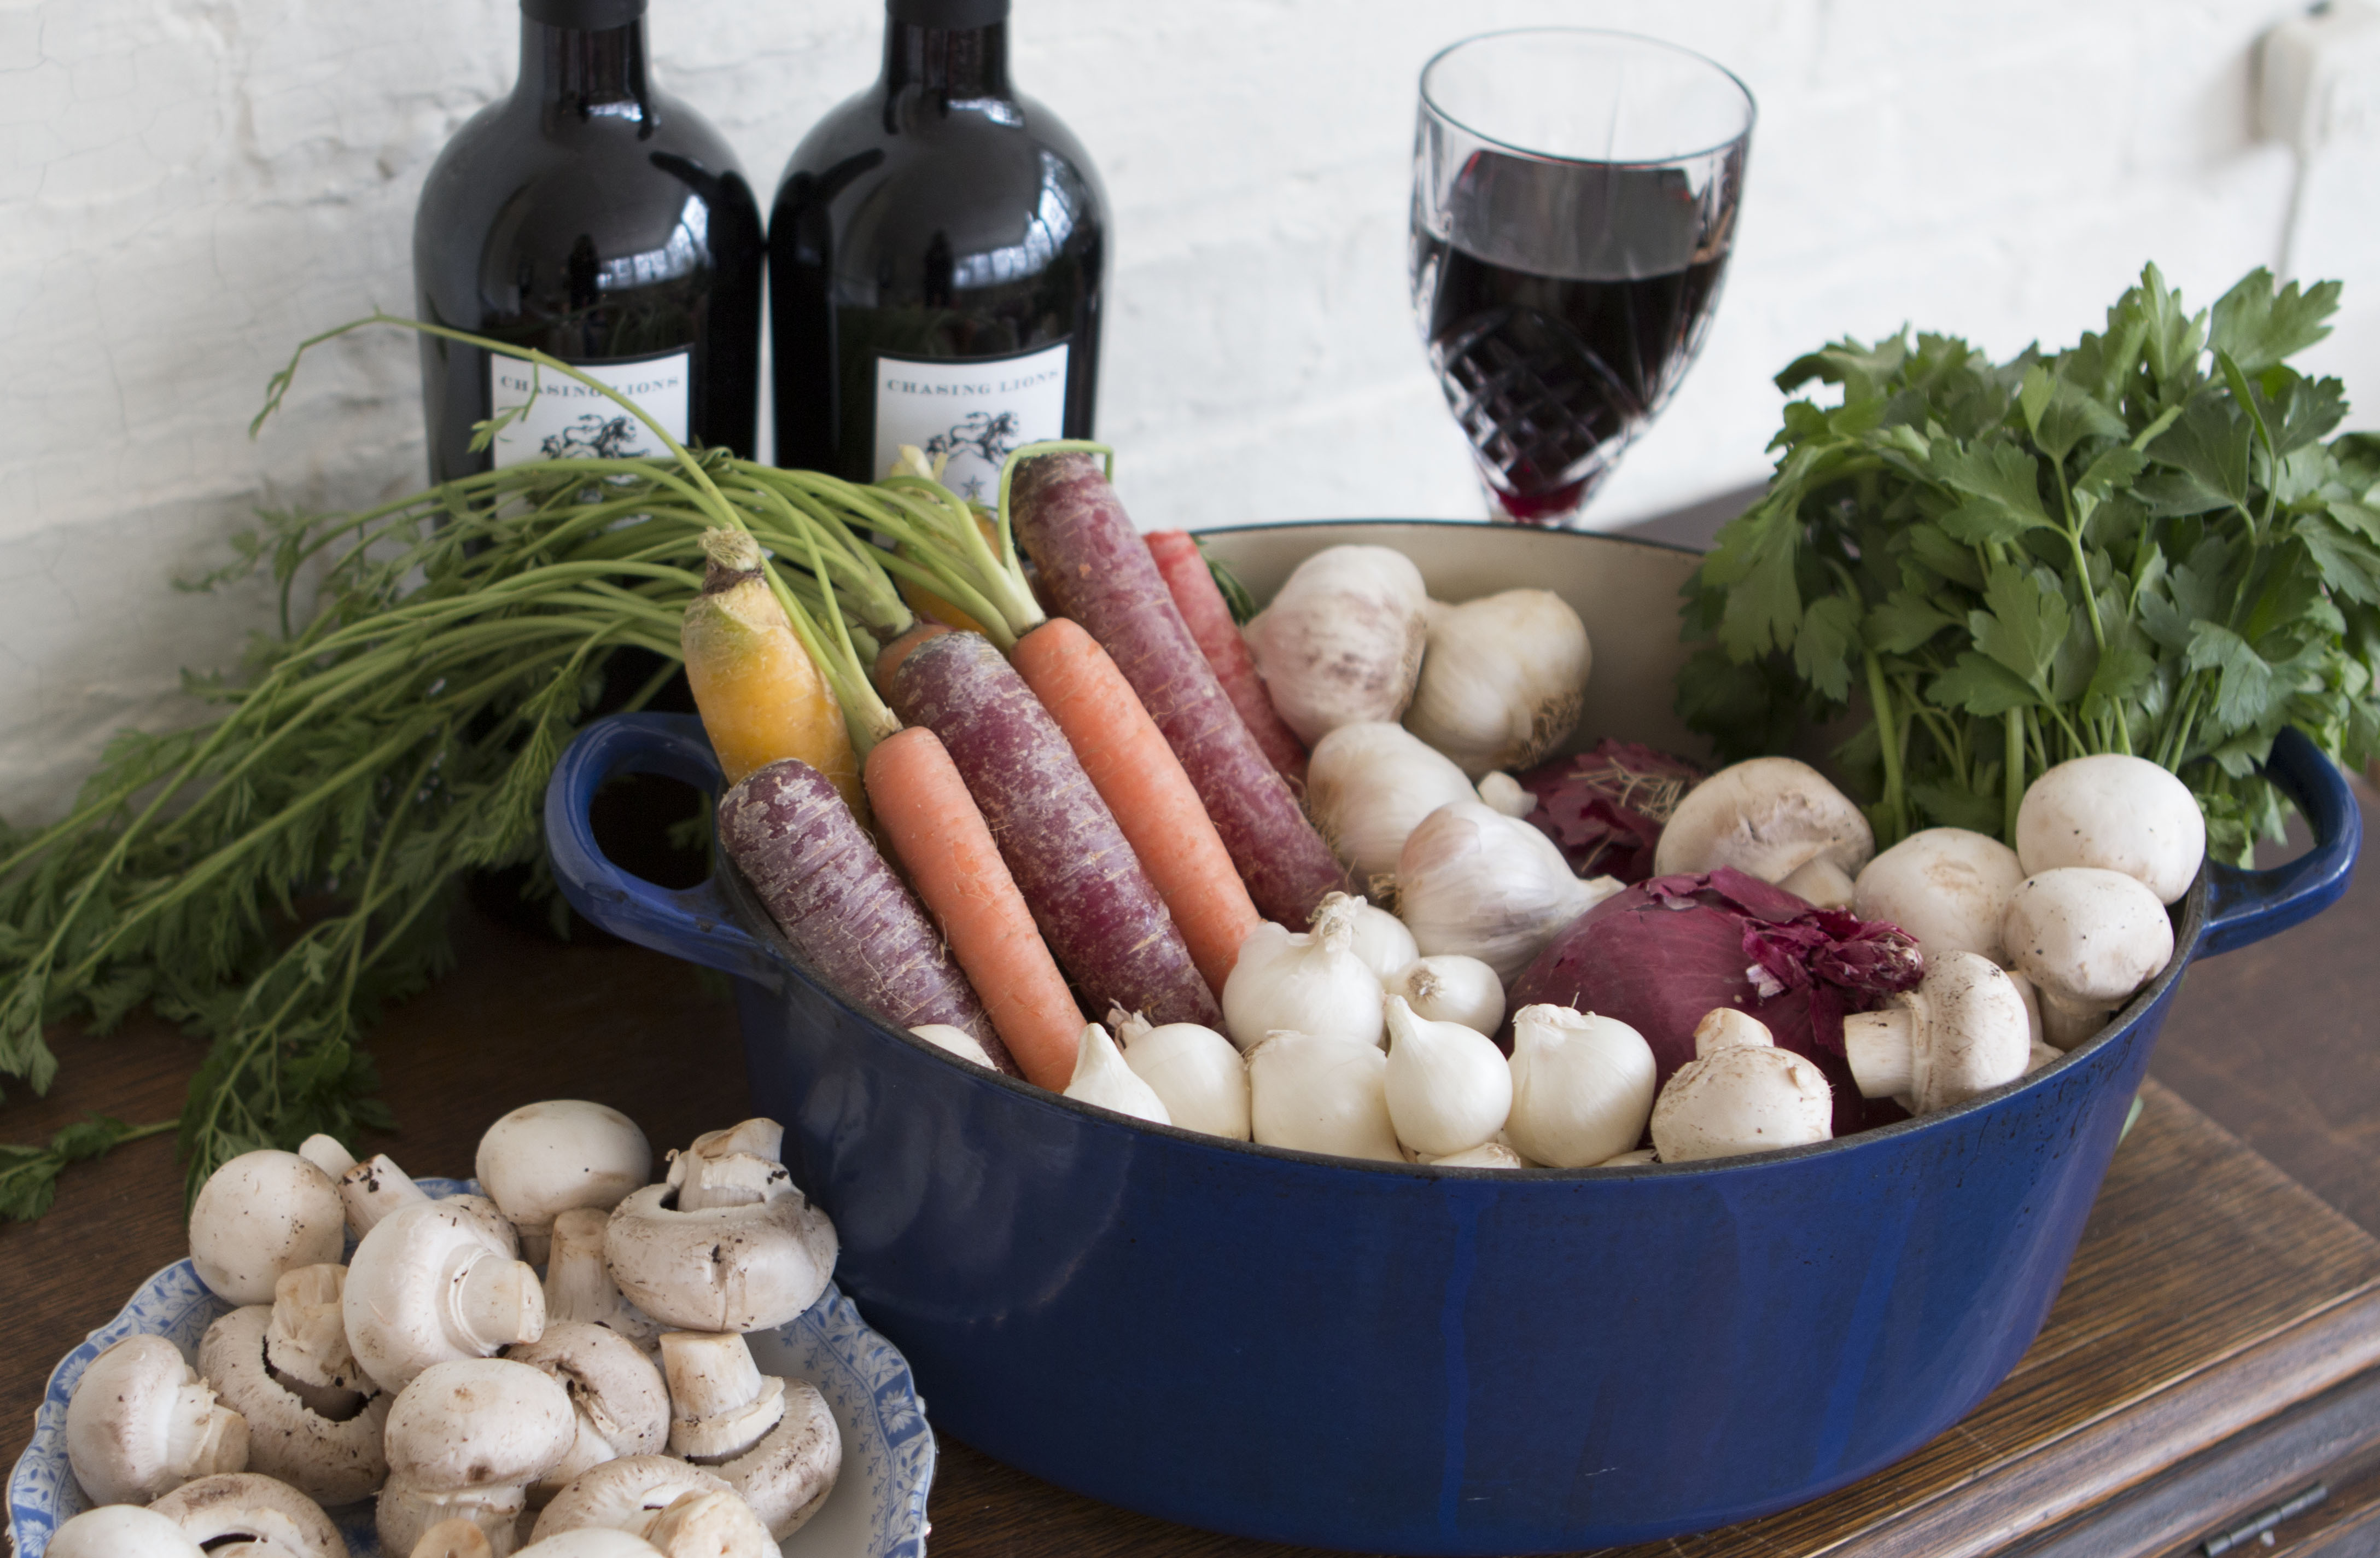
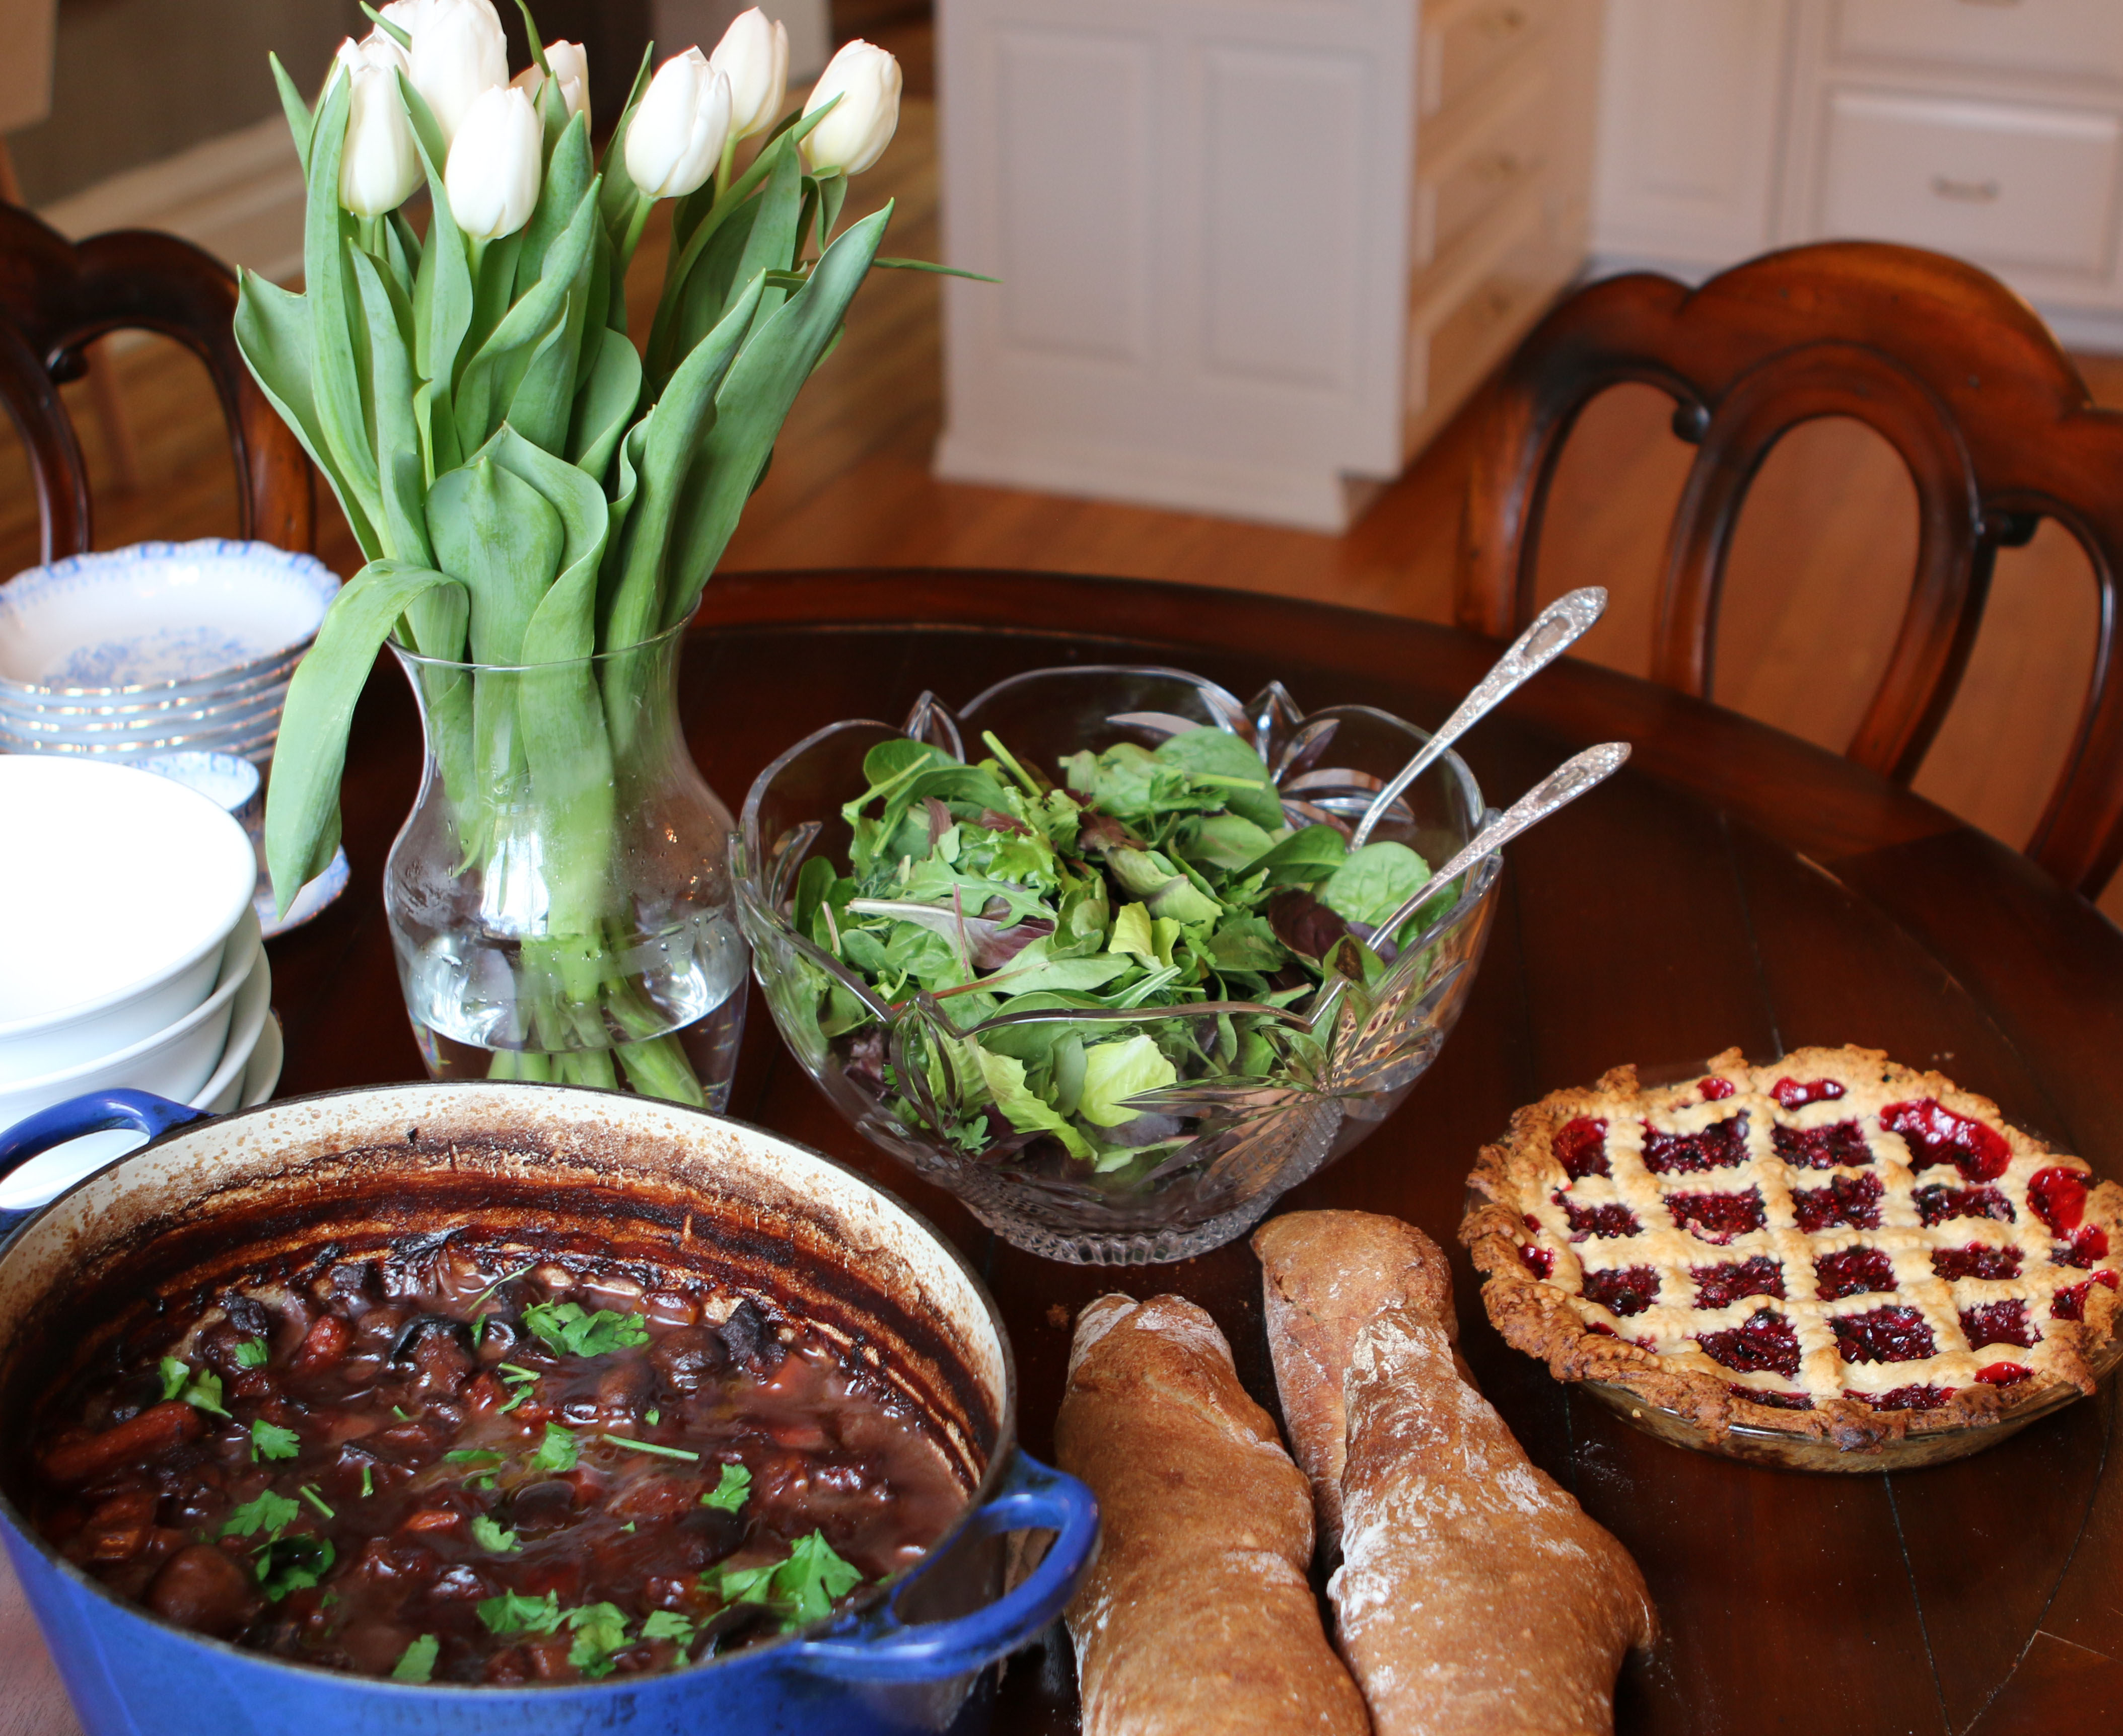
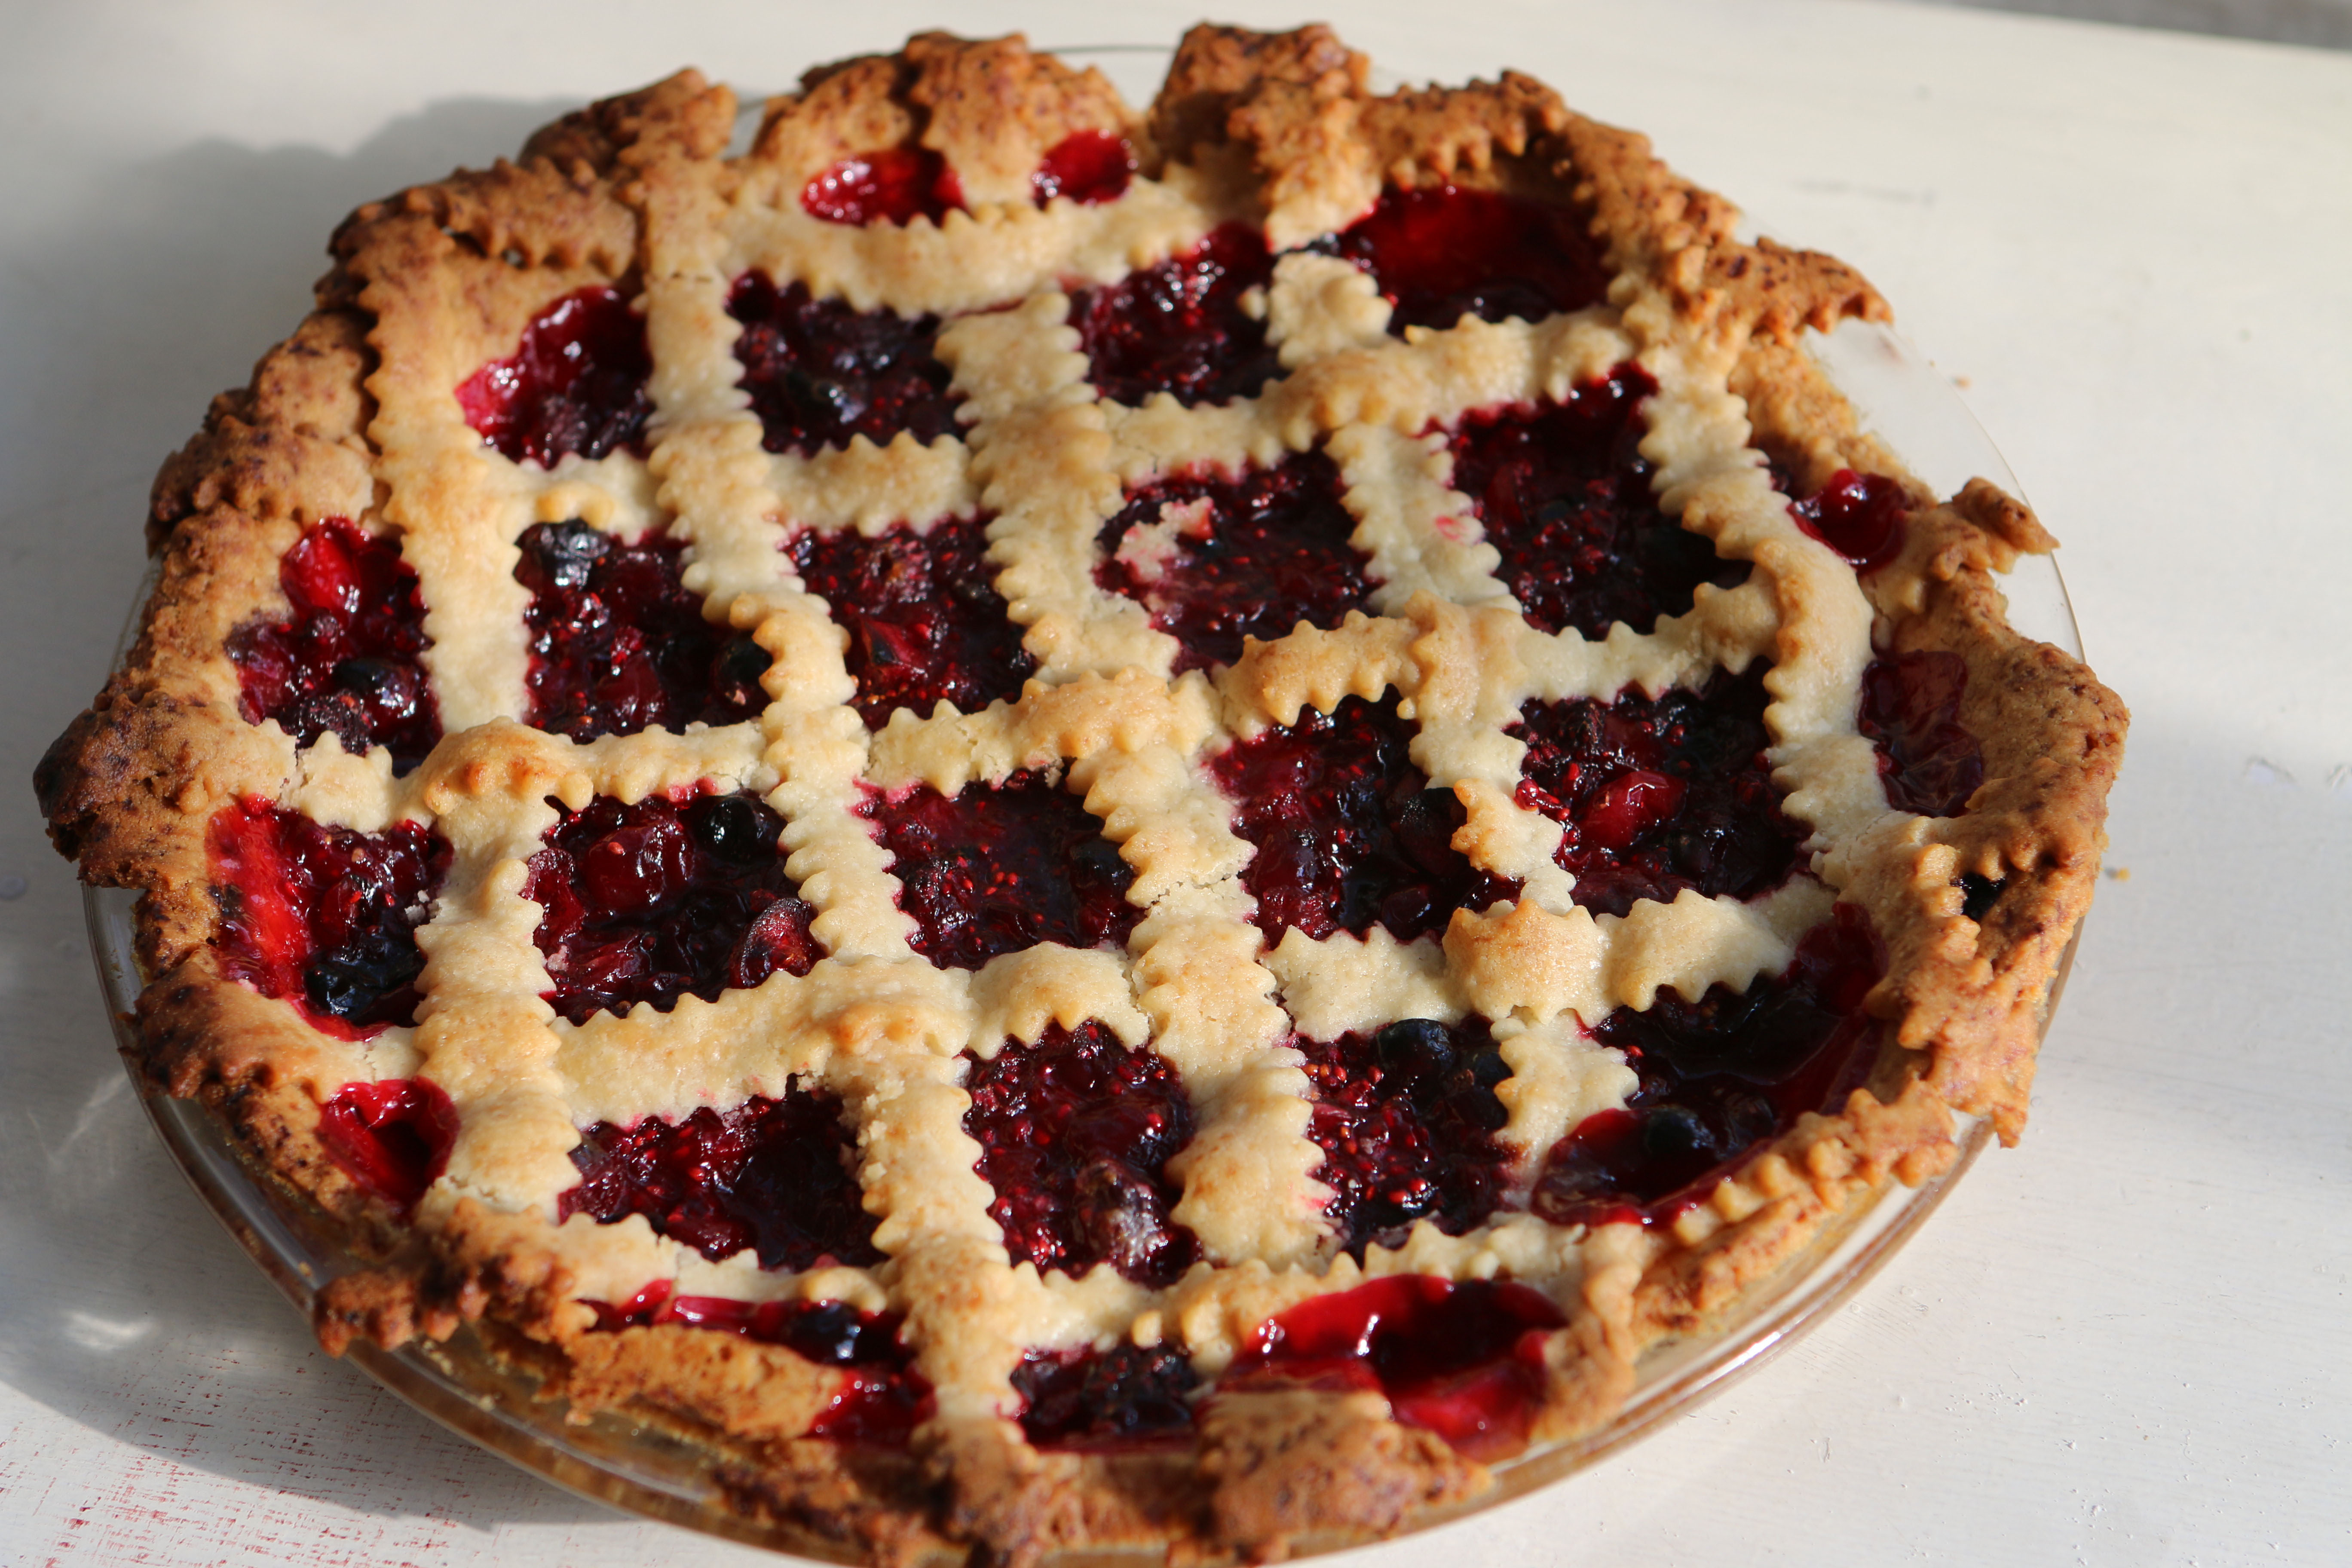
This past weekend a few friends joined us for a casual supper by the fireplace. It was a simple party… I made my grandmother’s beef bourguignon recipe and served it over a pappardelle pasta. It was accompanied by a crusty baguette, mixed greens salad and Pinot Noir, and finished with a homemade raspberry & cranberry pie a la mode. We spent a great day visiting the farmers market to pick up a few items while the bourguignon simmered. We had a wonderful time, and are already planning our next dinner party! This next one will be a more extravagant affair, so stay tuned!

My Grandmother’s Beef Bourguignon
Ingredients;
2 bottles of red wine (I like La Vielle Ferme for cooking)
2.5 pounds of beef shoulder cubed (bite size pieces)
3 tbsp olive oil
3 tbsp butter
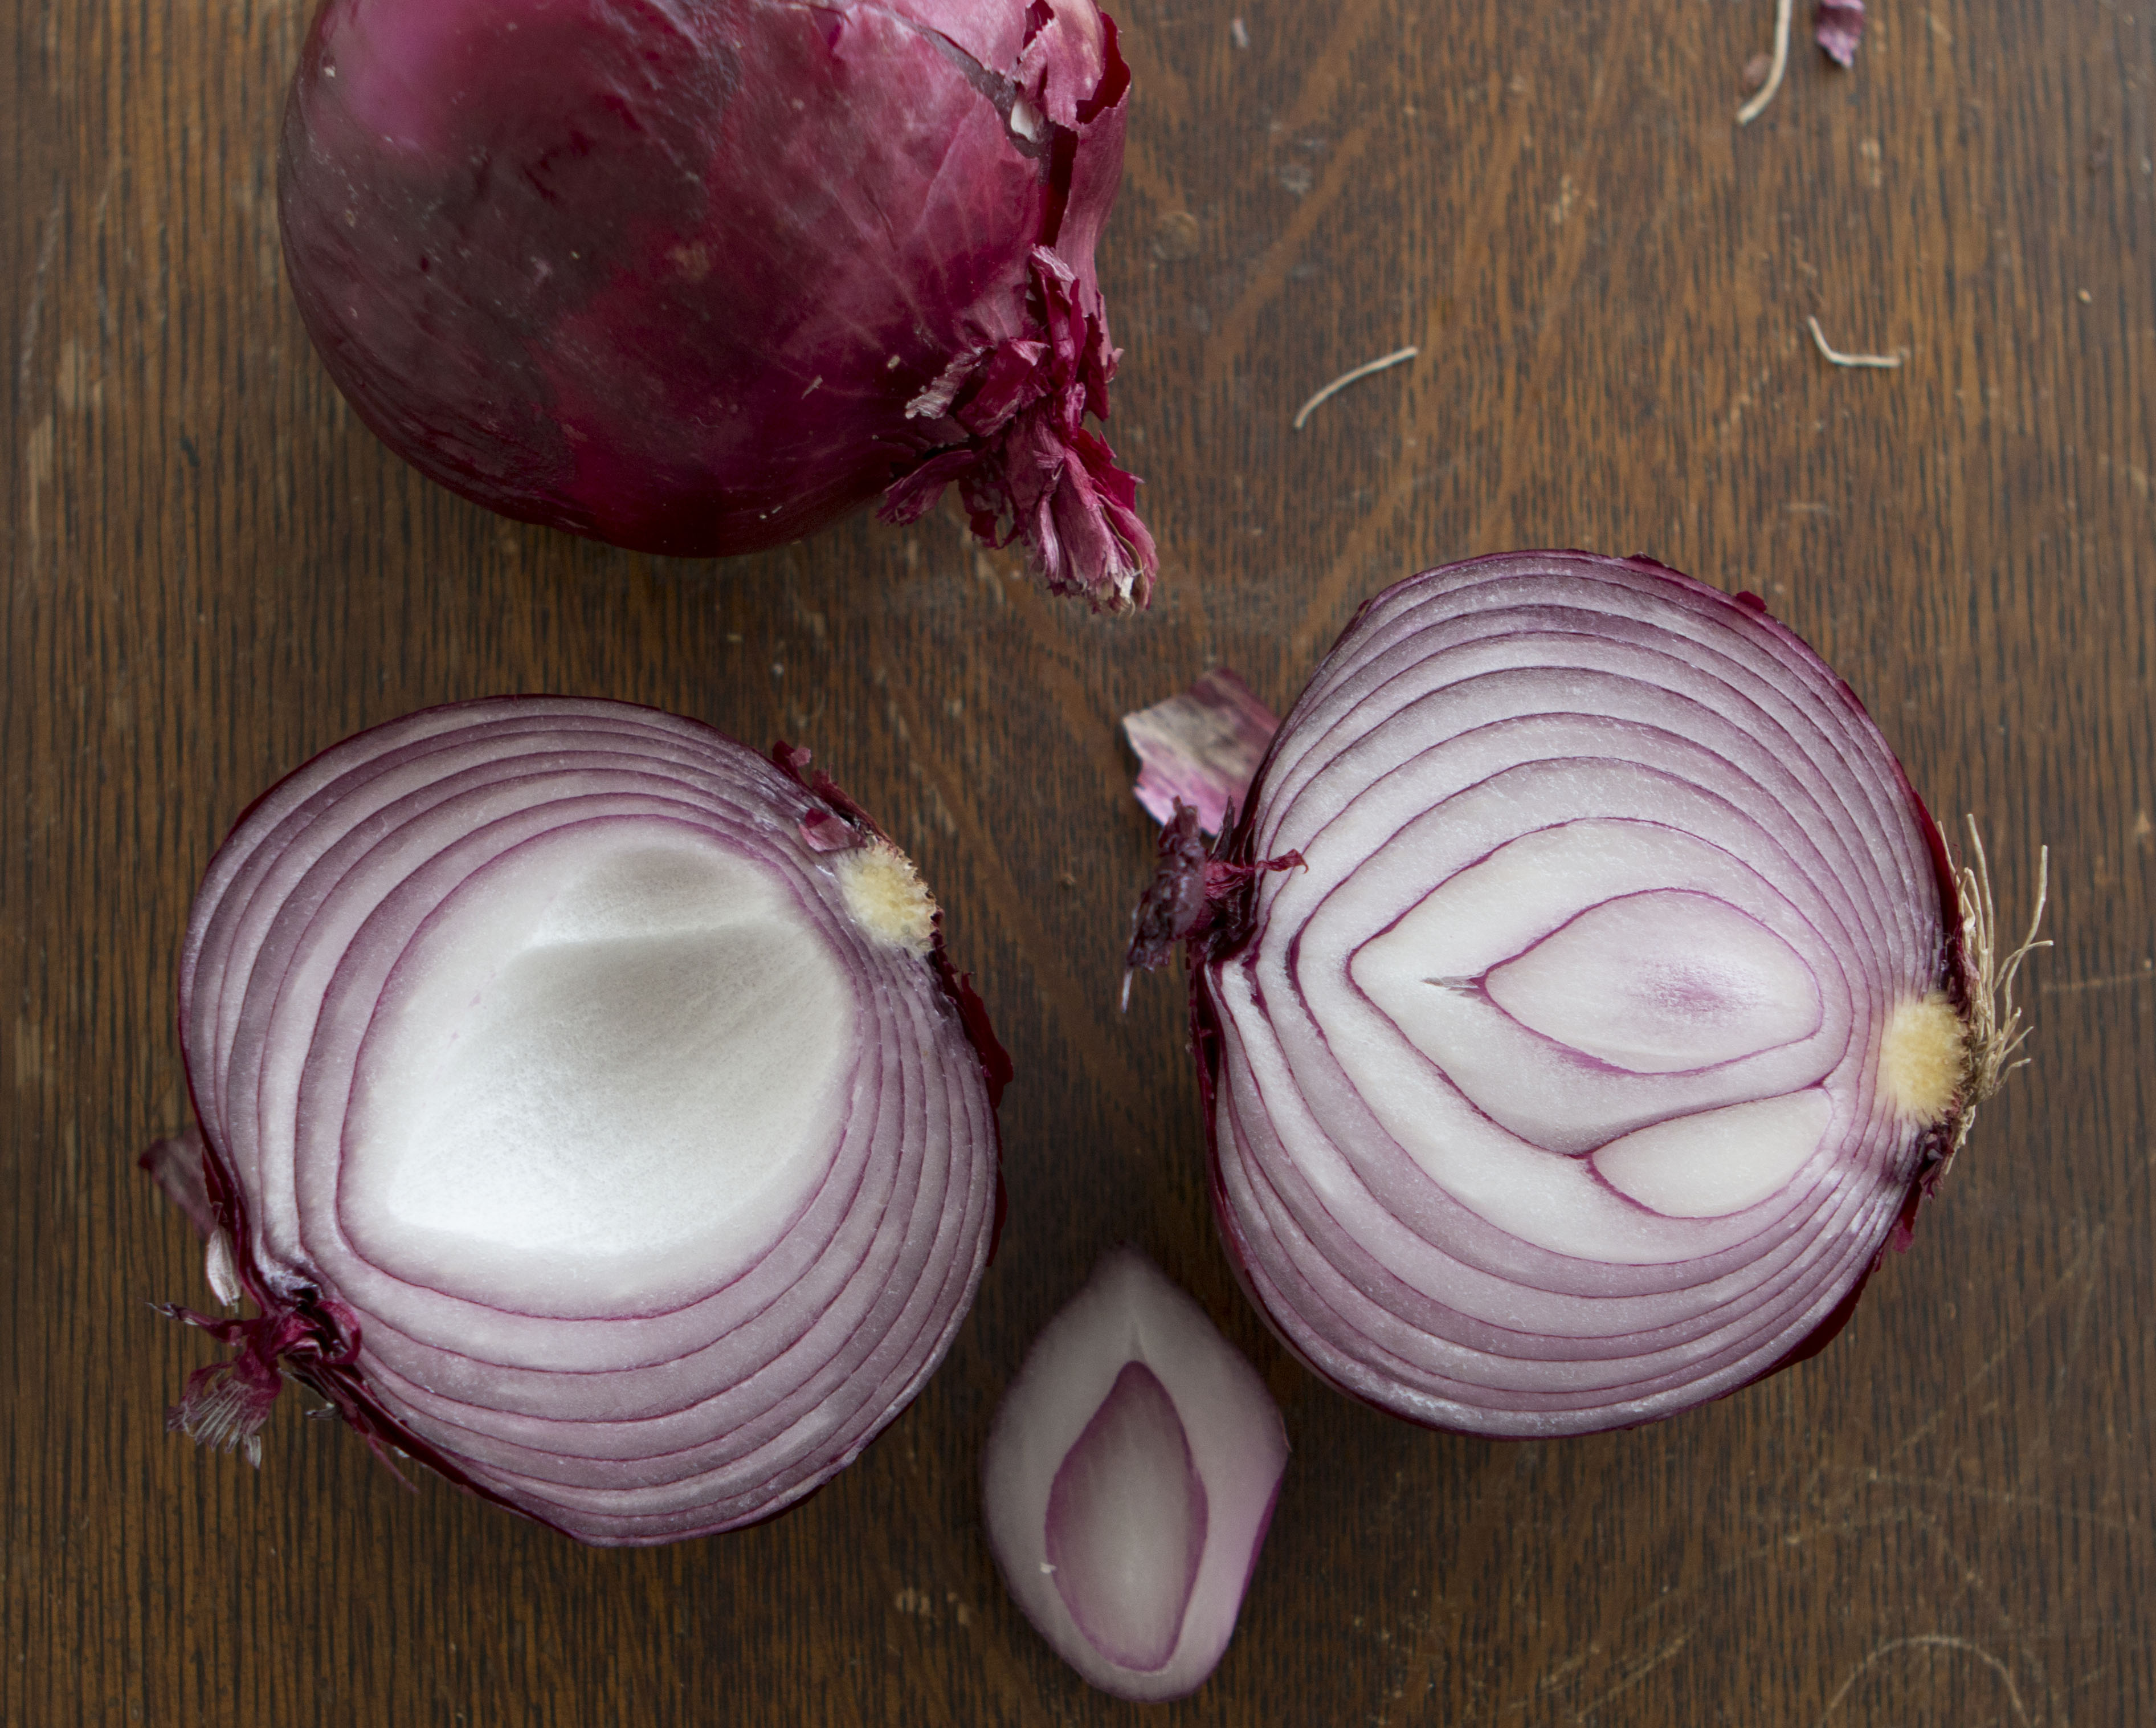
3/4 cup of finely chopped red onion
2 tbsp garlic finely chopped
4 tbsp flour
3 bay leaves
1 tsp of dried thyme
10 pearl onions
20 cremini mushrooms
2 cups of chopped carrots or baby carrots
salt and pepper
1 tbsp of sugar
-Preheat the oven to 350 degrees Fahrenheit
-Heat the olive oil and butter together on the stove top in an oven-safe pot (you’ll need the lid later).
-Season the beef with salt and pepper and brown in the butter and olive oil. Remove the browned beef from the pan with a slotted spoon, leaving the juices and butter in the pan. Place the beef in a bowl and set aside.
-Add the flour to the pan and whisk together for two minutes, stirring constantly to prevent lumps from forming.
-Add the two bottles of red wine and continue to stir until thoroughly combined.
-Add the meat, vegetables and the rest of the seasonings and stir gently.
-Bring to a boil and place the lid on the pot. Put in the 350 degree oven for two hours.
-After approximately two hours of cooking with the lid on, remove the lid, stir the bourguignon, and return to the oven for another hour or so without the lid.
-After the hour, stir and sample. The longer it cooks, the thicker it gets, so don’t be afraid to return it to the oven for up to another hour.
-The pasta takes several minutes to cook, so start boiling your water and cook the pasta just before the bourguignon is ready.
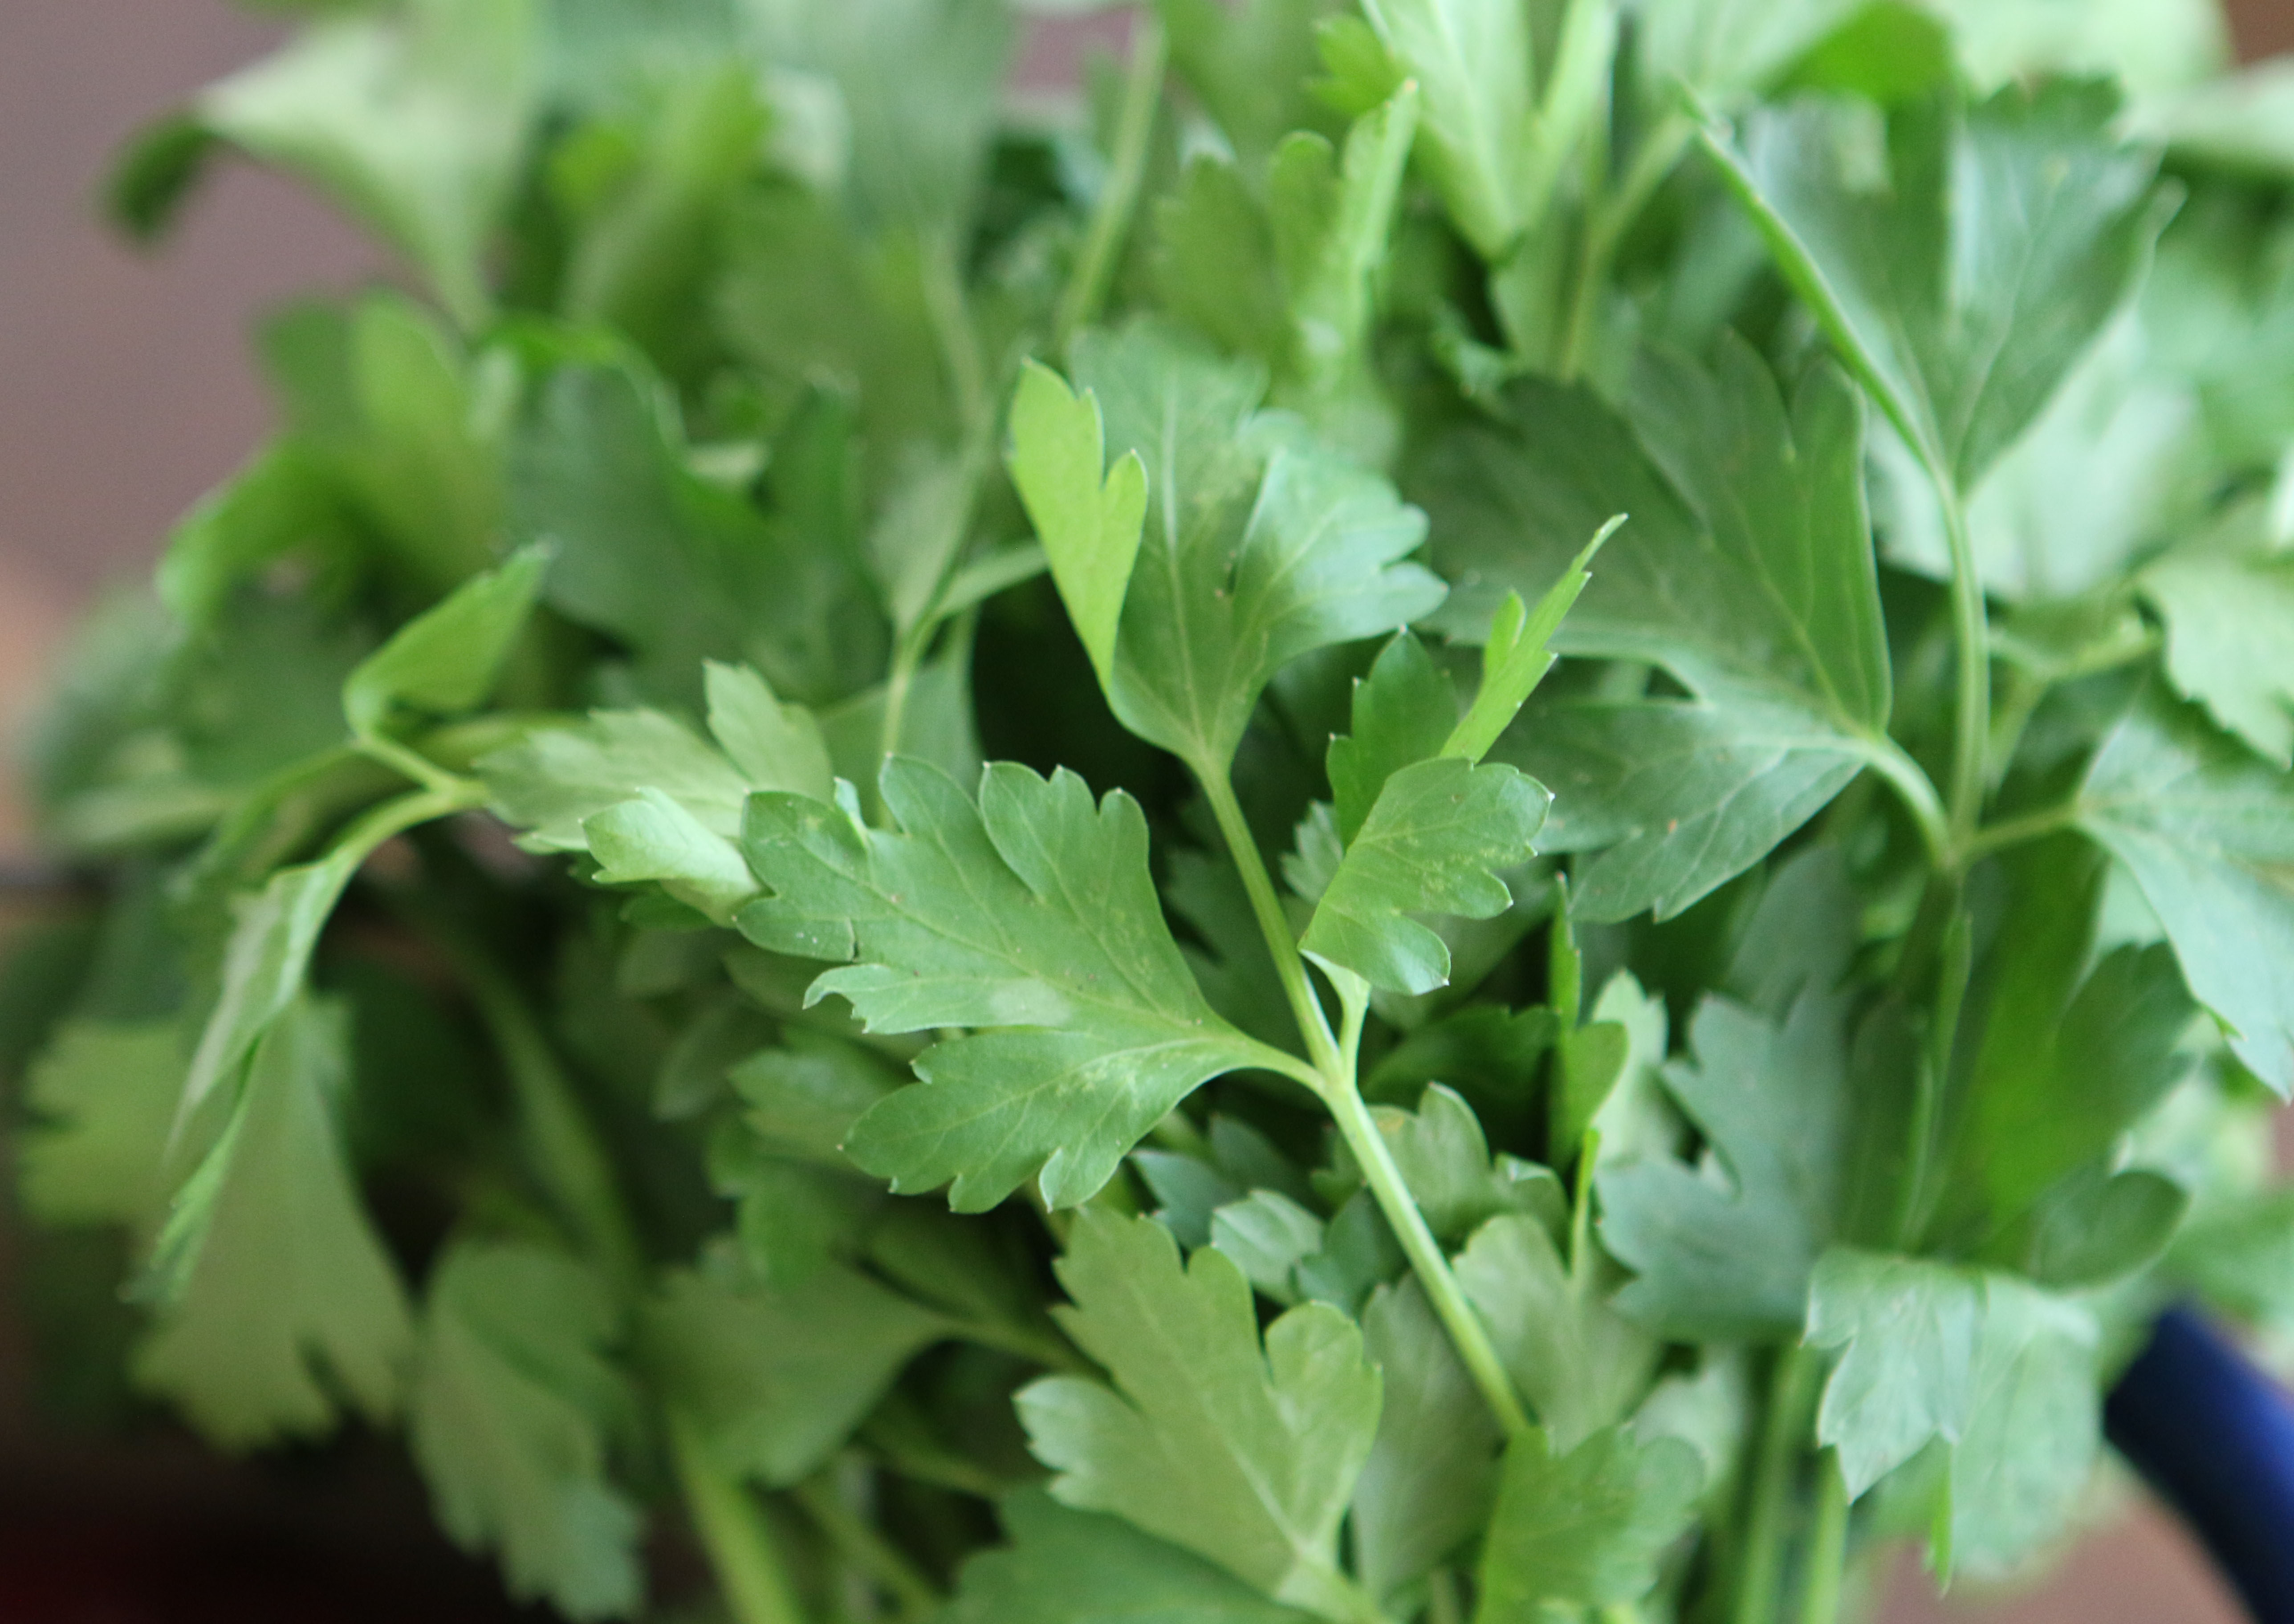
-After the meat is really tender and the sauce has thickened to your preference, salt and pepper to taste, garnish with fresh parsley, and serve over pasta with fresh baguette on the side. Don’t forget a nice glass of red wine!
-Enjoy!!
Cranberry Raspberry Pie!
Ingredients for the filling
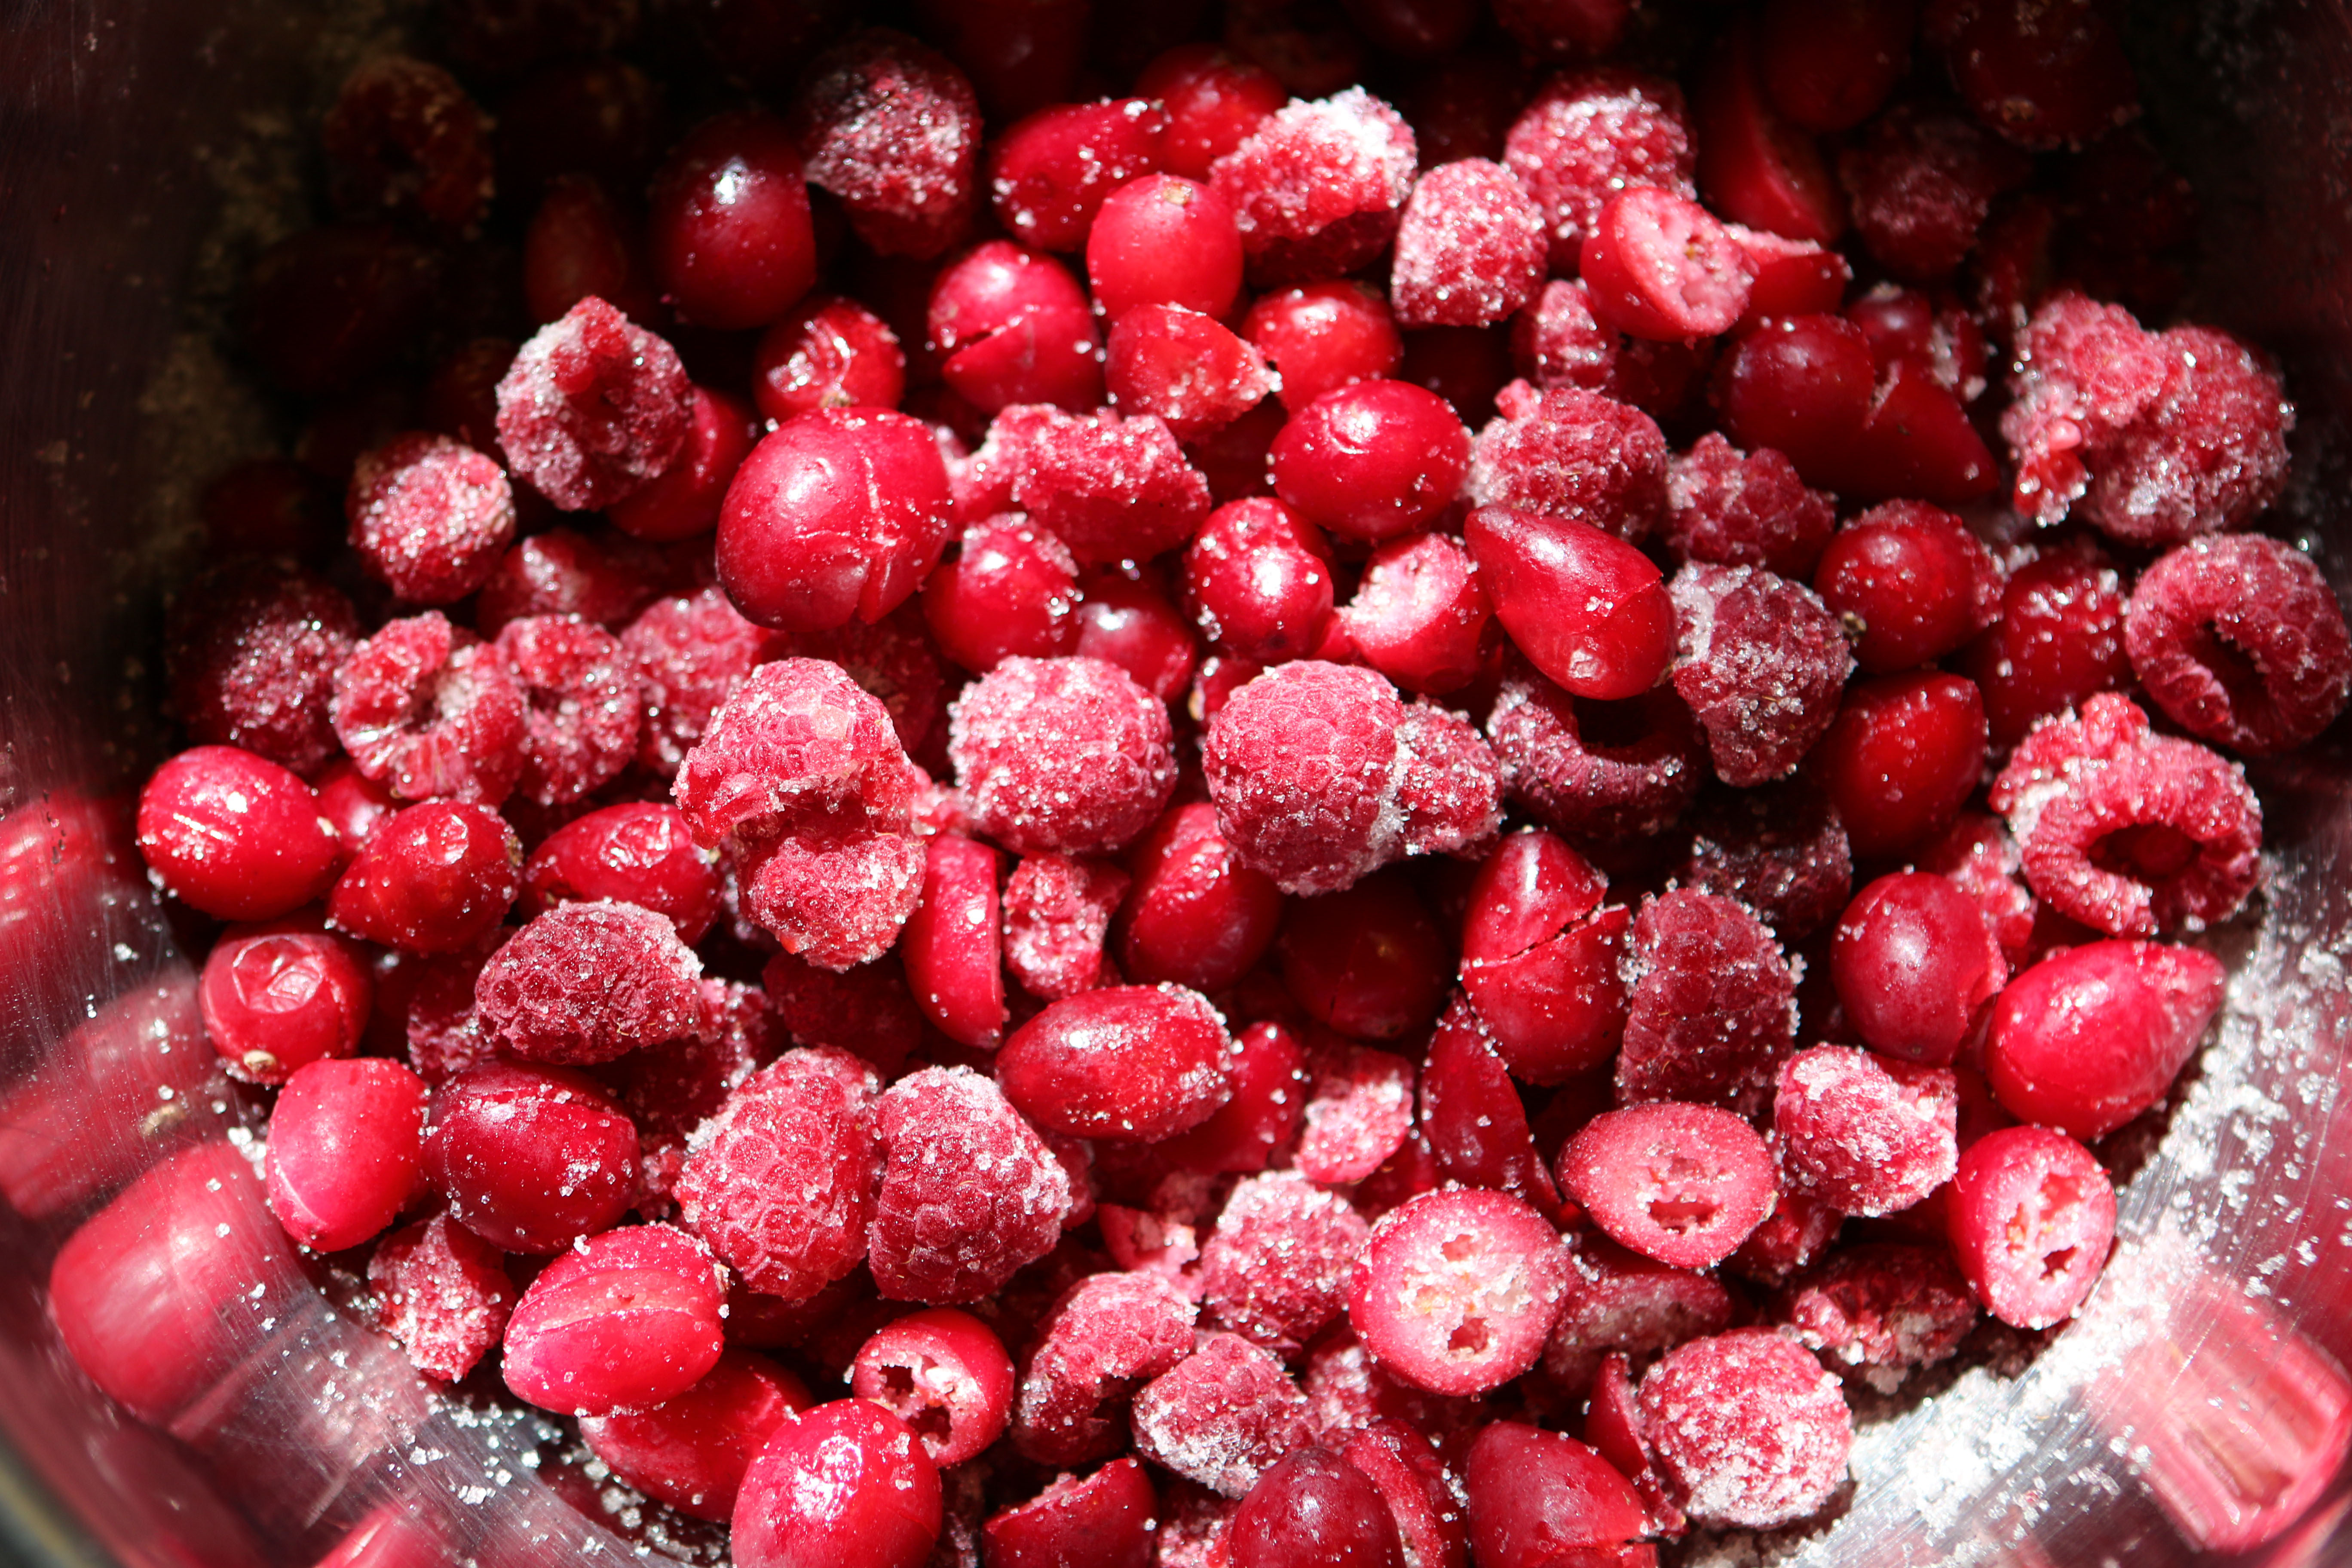
1 1/2 cups of cranberries cut in half
4 cups of frozen raspberries
1 lemon (juiced)
3 tbsp cornstarch
3/4 cup of sugar
-2 tbsp butter cut into 8+ pieces
-mix all of the ingredients together in a bowl
The crust: (double the amounts below if you would like to include a lattice top)
8 tbsp butter
1 cup of all purpose flour
1/2 tsp. salt
a pinch of sugar (optional)
1/4 cup of ice water
-Preheat the oven to 425 degrees Fahrenheit
-In an electric food processor pulse together the Butte, flour, salt and sugar. until you have a mealy texture.
-Add a few drops of the ice water and pulse again, continue to do this until the dough comes together.
-Remove the dough from the food processor and form it into a ball. Flatten into a disk like shape, wrap in plastic wrap and refrigerate for about fifteen minutes.
-After the dough has chilled a bit, roll it out into a thin crust on a lightly floured surface.
-Place the rolled out dough into a pie pan (i prefer glass pans).
-Bake the crust (without any filling) for nine minutes on 400 degrees Fahrenheit
-Remove from the oven and add the raspberry cranberry pie filling. I love to put a lattice top on my pies, but it’s not necessary.
-Return the pie to the oven and reduce the heat to 350 degrees. Bake for 45 minutes or until it bubbles. Be sure to sheild the edges of the pie crust with foil if necessary.
-Remove from the oven, let cool and serve with vanilla ice cream. Enjoy!!
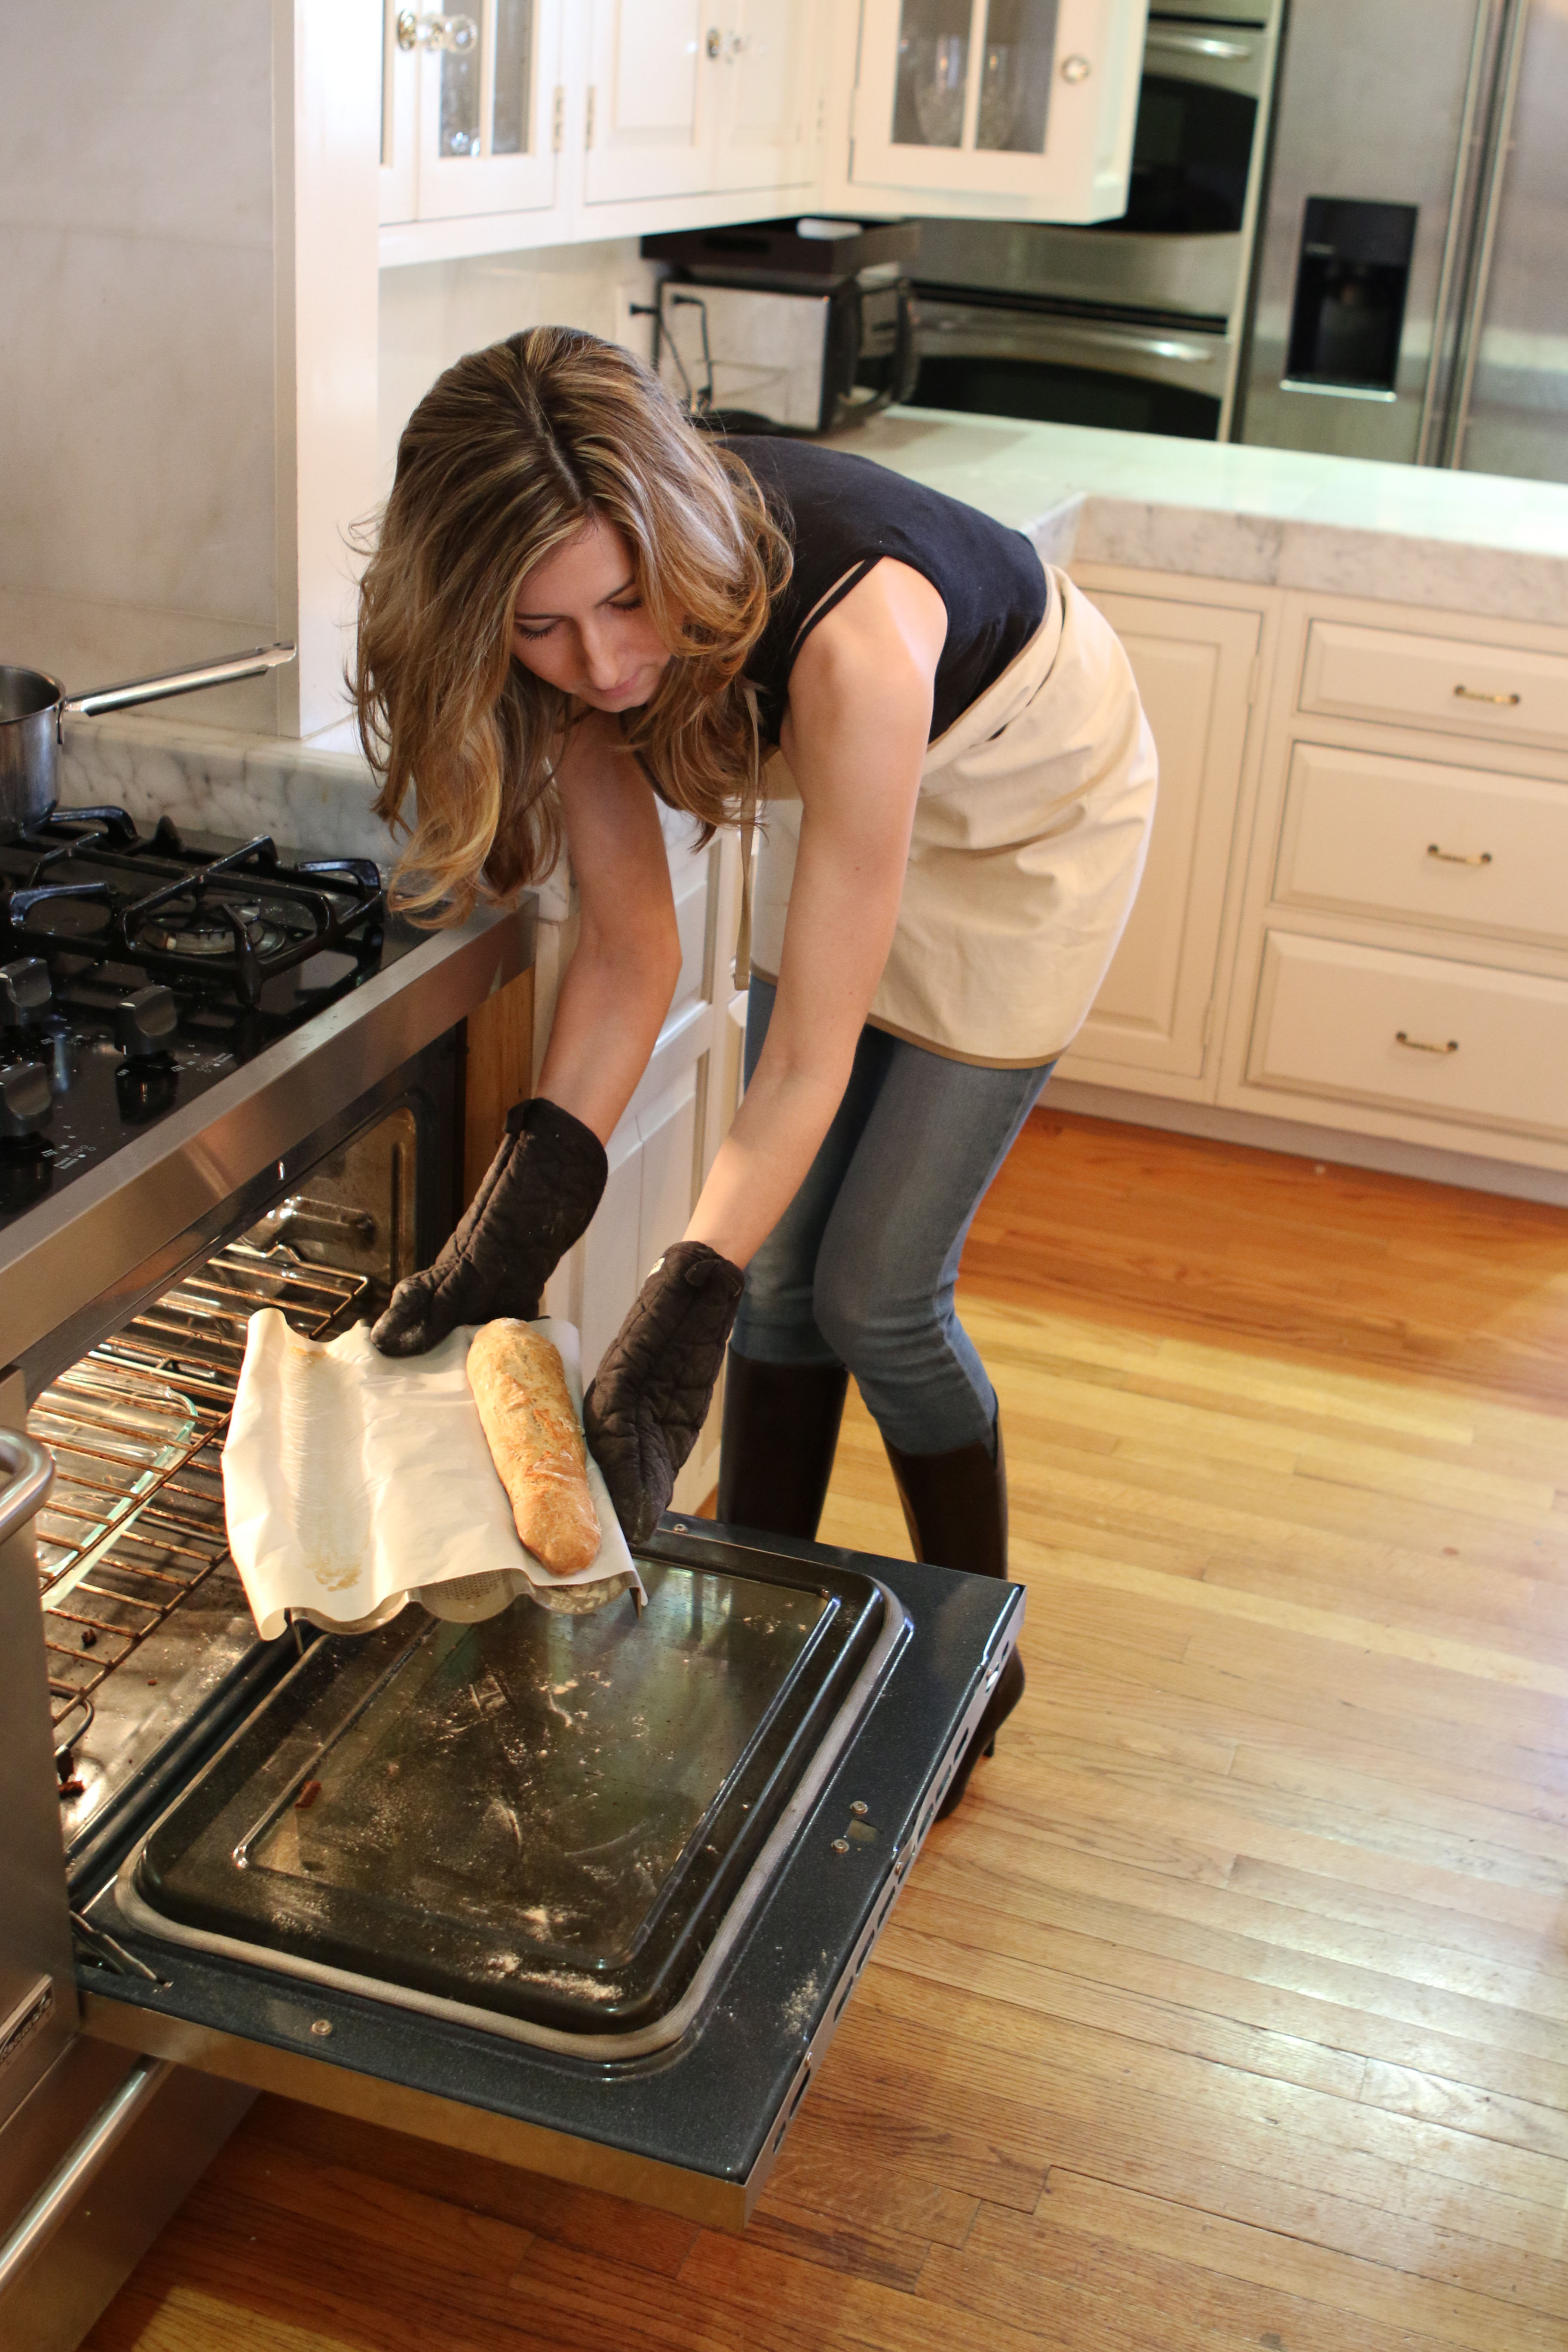
Baguette Recipe
3 cups of lukewarm water
1 tbsp. granulated yeast
1tbsp of sugar
1tbsp kosher salt
3 cups of all purpose flour
2 cups of whole wheat flour
-Combine all of the ingredients in a vary large ceramic or glass bowl.
-Stir together ( I use a fork, but a kitchenaid with a dough hook is great too) until well combined and the consistency is uniform. It should be very wet and sticky.
-Cover the bowl with plastic wrap and allow the mixture to rise for about an hour in a warm place, or until it has approximately doubled in bulk.
-Turn the oven on 425 degrees Fahrenheit. Place a oven safe baking dish full of hot water on the bottom rack in the oven. This will create steam in the oven giving the bread a nice crisp crust on the outside and chewy inside.
-Using a baguette pan, place a piece of parchment paper over the pan. Sprinkle the paper with a light dusting of flour.
-Stir the dough mixture until it releases a bit of the air.
-This step is a bit messy. I flour my hands and take a large handful of the dough and place it on the parchment paper in the shape of a baguette loaf. It is very sticky and messy. But hang in there, it’s going to be delicious.
-Place the pan with the dough in the oven for approximately 28 to 30 minutes.
-Open the oven with caution because of the steam, stand back when opening the door. Remove the bread and let cool on a wire rack.
-Enjoy!!
XOXO-Beth
